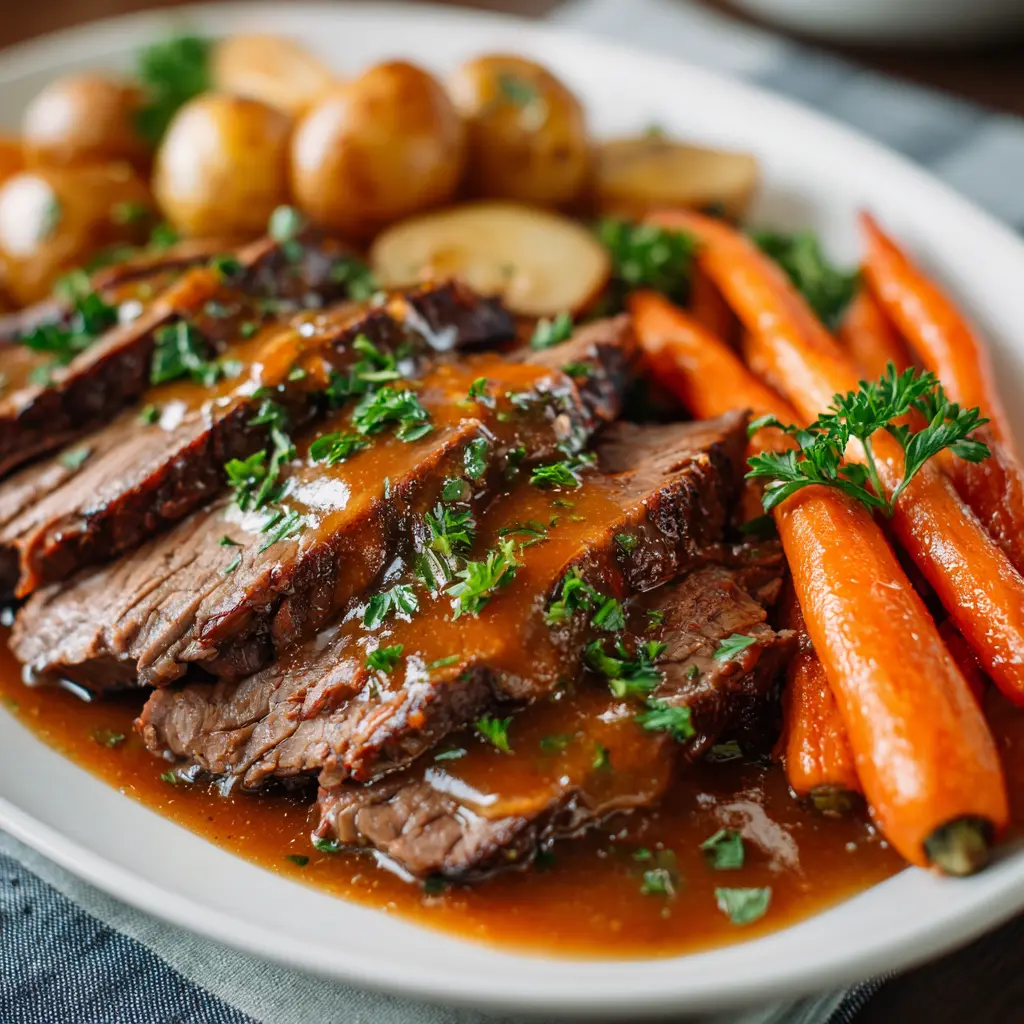
Frozen Roast in Instant Pot (No Thaw Pot Roast)
Frozen roast in Instant Pot is the fastest way to turn a rock solid beef roast into a fork tender dinner. This guide gives a clear minutes per pound chart, the right time to add potatoes and carrots so they keep their shape, and an easy gravy you can finish right in the pot. For complete meals, pair it with the cozy 4 Ingredient Potato Soup or a colorful Roasted Veggie Grain Bowl. Leftovers stay exciting with 3 Ingredient BBQ Sauce, and crisp salads dressed with White Balsamic Vinaigrette add balance. If you enjoy tender beef, try Instant Pot Brisket and our ultra tender Beef Cheek Meat next.
Quick Answers
f you don’t have one yet, here are Instant Pot models that handle frozen roasts reliably (size matters for 2–5 lb cuts). [Check Instant Pot options on Amazon]
How long do you cook a frozen roast in the Instant Pot
Plan about 30 minutes per pound on High Pressure plus 15 to 20 minutes natural release. Check with a fork and add 10 to 15 more minutes if needed. This timing helps collagen soften so the roast turns tender.
Do you need to thaw the roast first
No. Place the frozen roast over broth and aromatics, pressure cook using the time chart, then natural release. Season again after cooking if needed and thicken the juices into gravy right in the pot.
When should I add potatoes and carrots
After the roast cooks. Pressure cook vegetables in the hot juices for 3 to 5 minutes, then quick release. This method prevents mushy textures and keeps flavors bright.
Why Pressure Cooking a Frozen Roast Works
Moist heat under pressure breaks down connective tissue quickly. Cuts like chuck and shoulder respond best because collagen turns to gelatin, which creates juicy and shreddable meat. A full natural release lets fibers relax so the roast stays tender and sliceable.
Why this matters: Skipping the natural release often leads to tougher meat. Let the pot drop pressure on its own for best texture.
Authority resource for safe temps: see the FoodSafety.gov safe minimum temperature chart.
Frozen Roast in Instant Pot Time Guide
Use this as a starting point and always check tenderness.
- 2 lb: 60 minutes High Pressure plus 15 to 20 minutes natural release
- 3 lb: 90 minutes High Pressure plus 15 to 20 minutes natural release
- 4 lb: 120 minutes High Pressure plus 15 to 20 minutes natural release
- 5 lb: 150 minutes High Pressure plus 15 to 20 minutes natural release
Rule of thumb: frozen roasts need about 30 minutes per pound. Thawed roasts usually need about 20 minutes per pound. For storage and leftovers safety, consult USDA FSIS leftovers guidance.
Cook a frozen chuck roast for about 30 minutes per pound on High Pressure, then let pressure drop naturally for 15 to 20 minutes. If it is not fork tender, add 10 to 15 minutes more. Add root vegetables after the meat cooks to avoid overcooking.
Equipment
- Instant Pot
- Tongs
- Whisk
- Measuring cup
- Knife and cutting board
Equipment note: A 6–8 qt Instant Pot is the easiest fit for 3–5 lb roasts and vegetables. [See 6–8 qt Instant Pot models on Amazon]
Ingredients for Instant Pot Frozen Roast
- Beef roast: chuck is ideal; shoulder or arm also work
- Liquid: 1.5 cups low sodium beef broth
- Aromatics: onion wedges and smashed garlic
- Seasoning: kosher salt, black pepper, paprika, dried thyme or rosemary
- Flavor boosters: Worcestershire or a splash of balsamic; tomato paste or mushrooms for depth
- Gluten free: use certified GF broth and thicken with cornstarch
- Lower sodium: start with low sodium broth and salt to taste at the end
- Friendly: choose broth and seasonings that meet your standards
When you want classic sides, browse Thanksgiving Sides. For color and crunch, try Crispy Roasted Sweet Potatoes.
How to Cook Frozen Roast in the Instant Pot
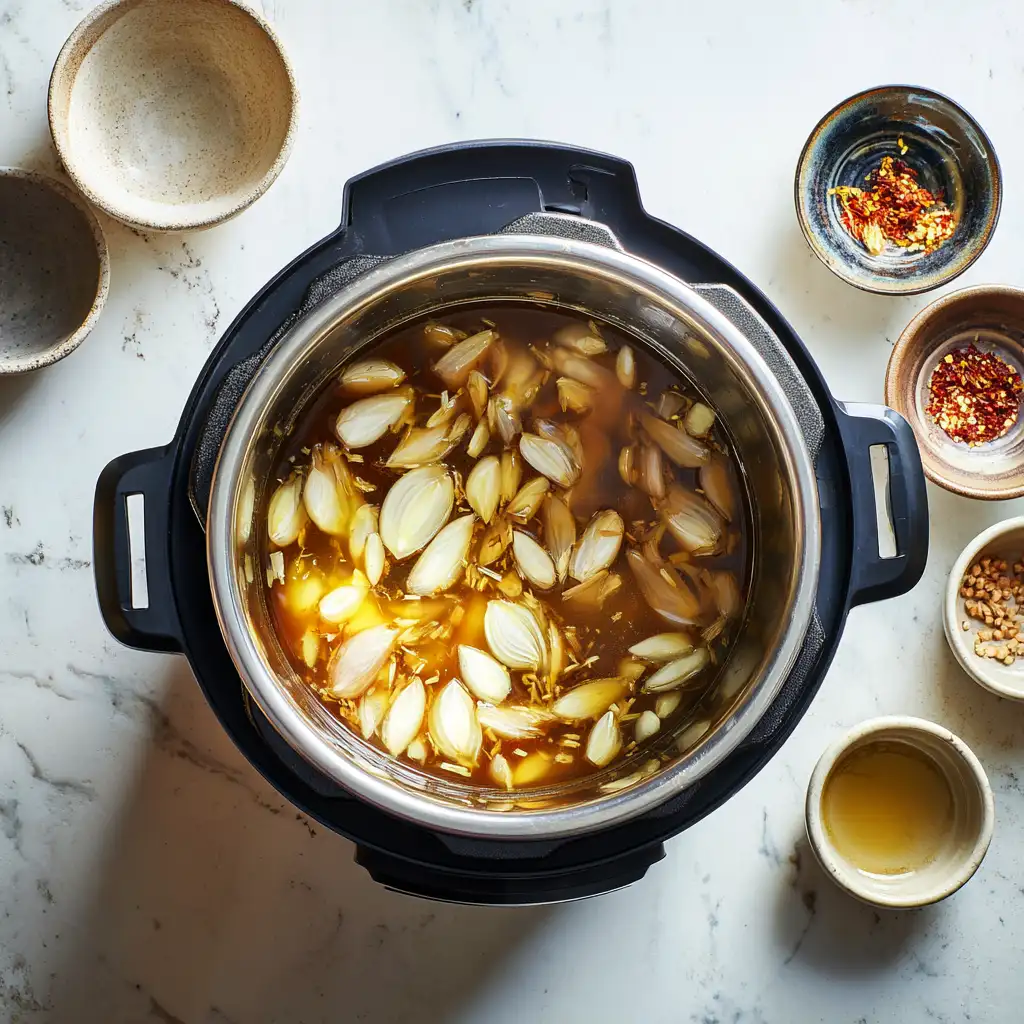
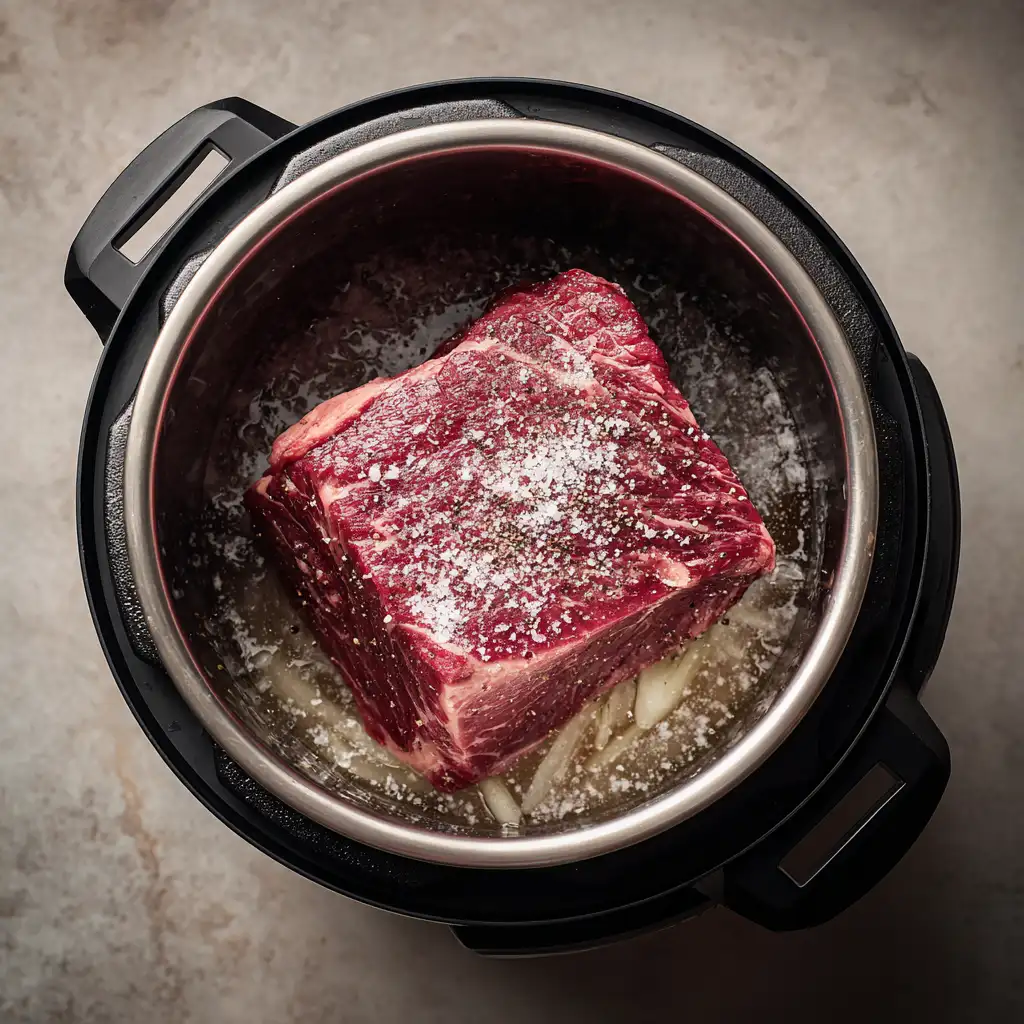
- Build flavor: Add broth, onion, and garlic to the pot. Place the frozen roast on top. Season any exposed surface with salt, pepper, paprika, and thyme.
- Pressure cook: Seal and cook on High Pressure using the time chart.
- Natural release: Let the pressure drop on its own for 15 to 20 minutes; quick release any remaining steam.
- Check tenderness: A fork should slide in easily. If not, cook 10 to 15 minutes more and repeat a short natural release.
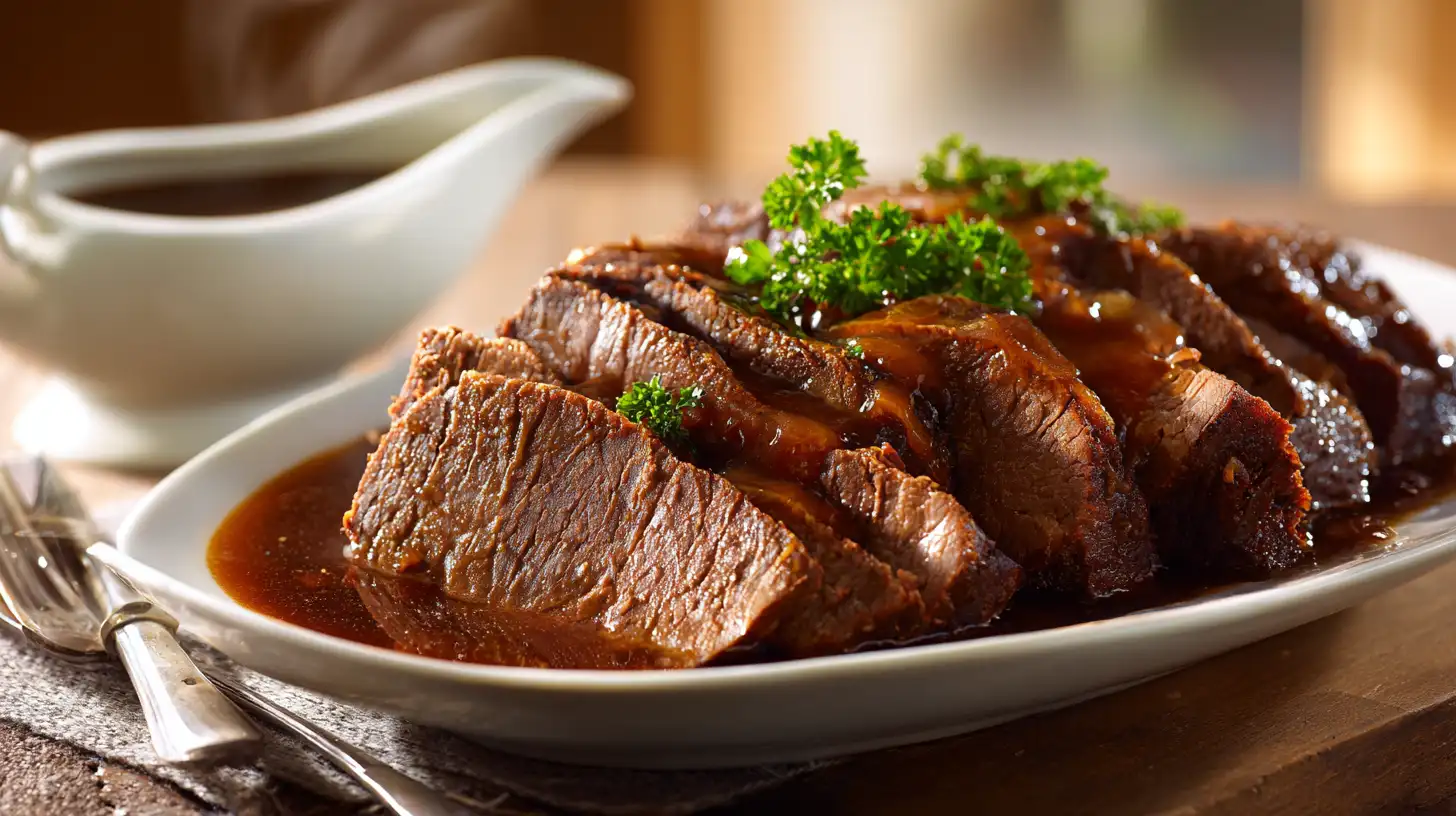
- Make gravy: Remove the roast to rest. Set Sauté. Whisk 2 tablespoons cornstarch with 2 tablespoons cold water, then whisk into the hot juices until glossy.
- Optional browning: Briefly sear thick slices on Sauté or broil 2 to 3 minutes for deeper color.
Troubleshooting:
Still firm: add 10 to 15 minutes and repeat a short natural release.
Thin juices: reduce on Sauté or add a little more slurry.
Burn warning: ensure at least 1 to 1.5 cups liquid and scrape the bottom before sealing.
Tip: A raised trivet helps prevent scorching and improves liquid circulation. [Get an Instant Pot trivet on Amazon]
Potatoes and Carrots Timing
To keep vegetables intact, cook them after the meat.
- Remove the finished roast and tent with foil
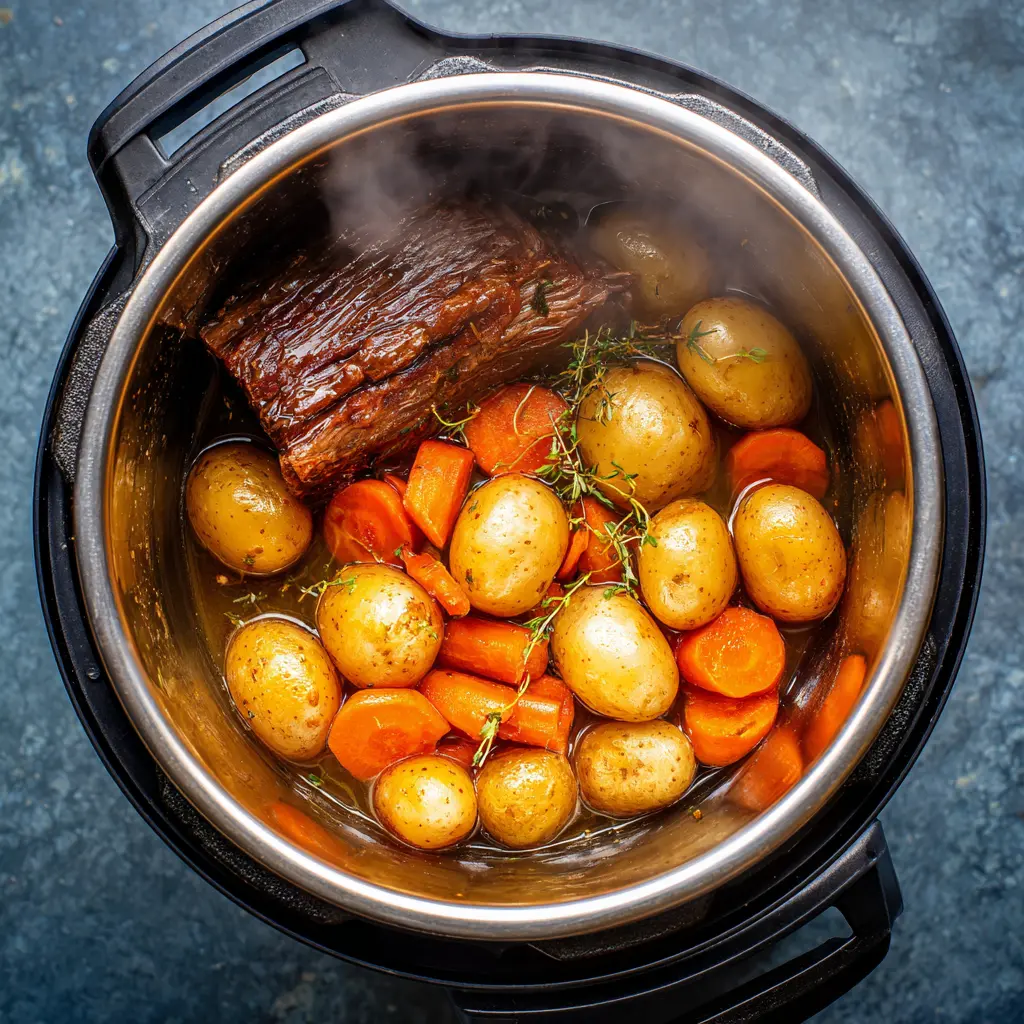
- Add 1 to 1.5 pounds baby potatoes and 3 to 4 sliced carrots to the hot juices
- Pressure cook 3 to 5 minutes on High, then quick release
- Season and serve with sliced or shredded roast and gravy
For lighter plates, toss greens with Greek Yogurt Dressing or White Balsamic Vinaigrette. For hearty bowls, use the meat in Taco Salad Bowl or Healthy Salad Bowls.
Instant Pot Frozen Pot Roast Variations
- Mississippi style: add ranch seasoning, au jus mix, and 6 to 8 pepperoncini
- Mushroom onion gravy: sauté mushrooms after cooking, then simmer in the juices before thickening
- Herb garlic: boost thyme and rosemary and finish with a splash of balsamic
- Low carb focus: skip potatoes and serve with green beans or salad
Love saucy dinners? Keep Roasted Red Pepper Sauce on hand for other proteins. For fast skillet meals, try Garlic Butter Chicken Bites.
Make Ahead, Storage, and Reheating for Frozen Roast
- Make ahead: slice or shred and store with some gravy for moisture
- Fridge: 3 to 4 days in a sealed container
- Freeze: up to 3 months in meal size portions with gravy
- Reheat: warm gently on the stove with a splash of broth, or use Sauté on Low until steaming hot
For authoritative guidance on safe temps and leftovers, see USDA FSIS leftovers and food safety and the FoodSafety.gov temperature chart.
What to Serve With Instant Pot Frozen Roast
- Serve thick slices over creamy mash or tucked into bowls.
- For comfort, ladle alongside 4 Ingredient Potato Soup.
- If you want freshness, build a plate with Roasted Veggie Grain Bowl and a drizzle of White Balsamic Vinaigrette.
- For a next day sandwich, warm slices and dip in the pan gravy.
- If you want another pressure cooked classic, try Instant Pot Brisket.
Instant Pot Frozen Roast FAQ
Use about 30 minutes per pound on High Pressure. That is roughly 60, 90, 120, or 150 minutes. After cooking, let pressure drop naturally for 15 to 20 minutes and check tenderness. If a fork does not slide in easily, add 10 to 15 more minutes and test again.
Yes. Add broth and aromatics, place the frozen roast on top, and pressure cook using the time chart. Natural release keeps fibers relaxed. Season to taste at the end and turn the cooking liquid into gravy for moisture and flavor.
It needs more time or a full natural release. Collagen softens with both heat and time. Use a cut like chuck or shoulder, rest the roast before slicing, and slice against the grain. If needed, return to pressure for 10 to 15 minutes and test again.
You can, but they often overcook. For the best texture, cook the roast first. Then pressure cook potatoes and carrots for 3 to 5 minutes in the hot juices and quick release. Season and serve immediately.
No. Starting from frozen makes searing difficult up front. For browned edges, briefly sear slices after cooking using Sauté or a short broil. This adds color while keeping the roast tender.
Instant Pot Frozen Roast
Ingredients
Equipment
Method
- Add broth, onion wedges, and smashed garlic to the Instant Pot. Place frozen beef roast on top and season exposed areas with salt, pepper, paprika, and thyme.
- Seal the lid and cook on High Pressure for 30 minutes per pound. Use the time chart as a guide.
- Let pressure release naturally for 15 to 20 minutes. Quick release any remaining steam after that.
- Check tenderness with a fork. If the roast is still tough, cook for 10 to 15 more minutes with a short release.
- Remove the roast and set it aside to rest. Turn on Sauté. Mix cornstarch and cold water, then whisk into juices to make gravy.
- Optional: Add potatoes and carrots to the pot and pressure cook for 3 to 5 minutes. Quick release and serve.
- Slice or shred the roast, and serve with vegetables and gravy. Optionally brown slices using Sauté or broil briefly for color.
Notes
- Best cuts: chuck, shoulder, or arm roast
- Gluten free: use GF broth and cornstarch to thicken
- For more flavor, try mushroom gravy or Mississippi-style with pepperoncini.
- Leftovers reheat well in gravy. Vegetables cook better after meat.
- Lower sodium: start with low sodium broth and season at the end
- Make ahead: slice and store with gravy for moisture
- Storage: 3 to 4 days in the fridge; up to 3 months in the freezer
- Reheat: gently on the stove or with Sauté on Low with a splash of broth
- Food safety: see USDA FSIS guidance for leftovers and safe temps
NUTRITION (estimate per serving)
SERVING: 200g | CALORIES: 350kcal | CARBOHYDRATES: 6g | PROTEIN: 30g | FAT: 22g | SATURATED FAT: 9g | CHOLESTEROL: 110mg | SODIUM: 650mg | POTASSIUM: 600mg | FIBER: 1g | SUGAR: 2g | VITAMIN A: 150IU | VITAMIN C: 3mg | CALCIUM: 30mg | IRON: 3mgRelated Recipes
- Roasted Red Pepper Gouda Soup for a cozy soup and roast combo
- Street Corn Chicken Rice Bowl to turn leftovers into bowls
- Healthy Smoothies for a lighter sip with a hearty plate
Final Thoughts on Frozen Roast in Instant Pot
Cooking a frozen roast in the Instant Pot is simple, reliable, and budget friendly. With the minutes per pound guide, a full natural release, and quick gravy, you get tender slices without planning a day ahead. For an easy finish, add potatoes and carrots after the roast cooks so the texture stays just right.
As you meal prep, store portions with a little gravy for moisture. Then, turn leftovers into bowls with the Roasted Veggie Grain Bowl or pair slices with a cup of 4 Ingredient Potato Soup. If you want another pressure cooked classic next, try Instant Pot Brisket.