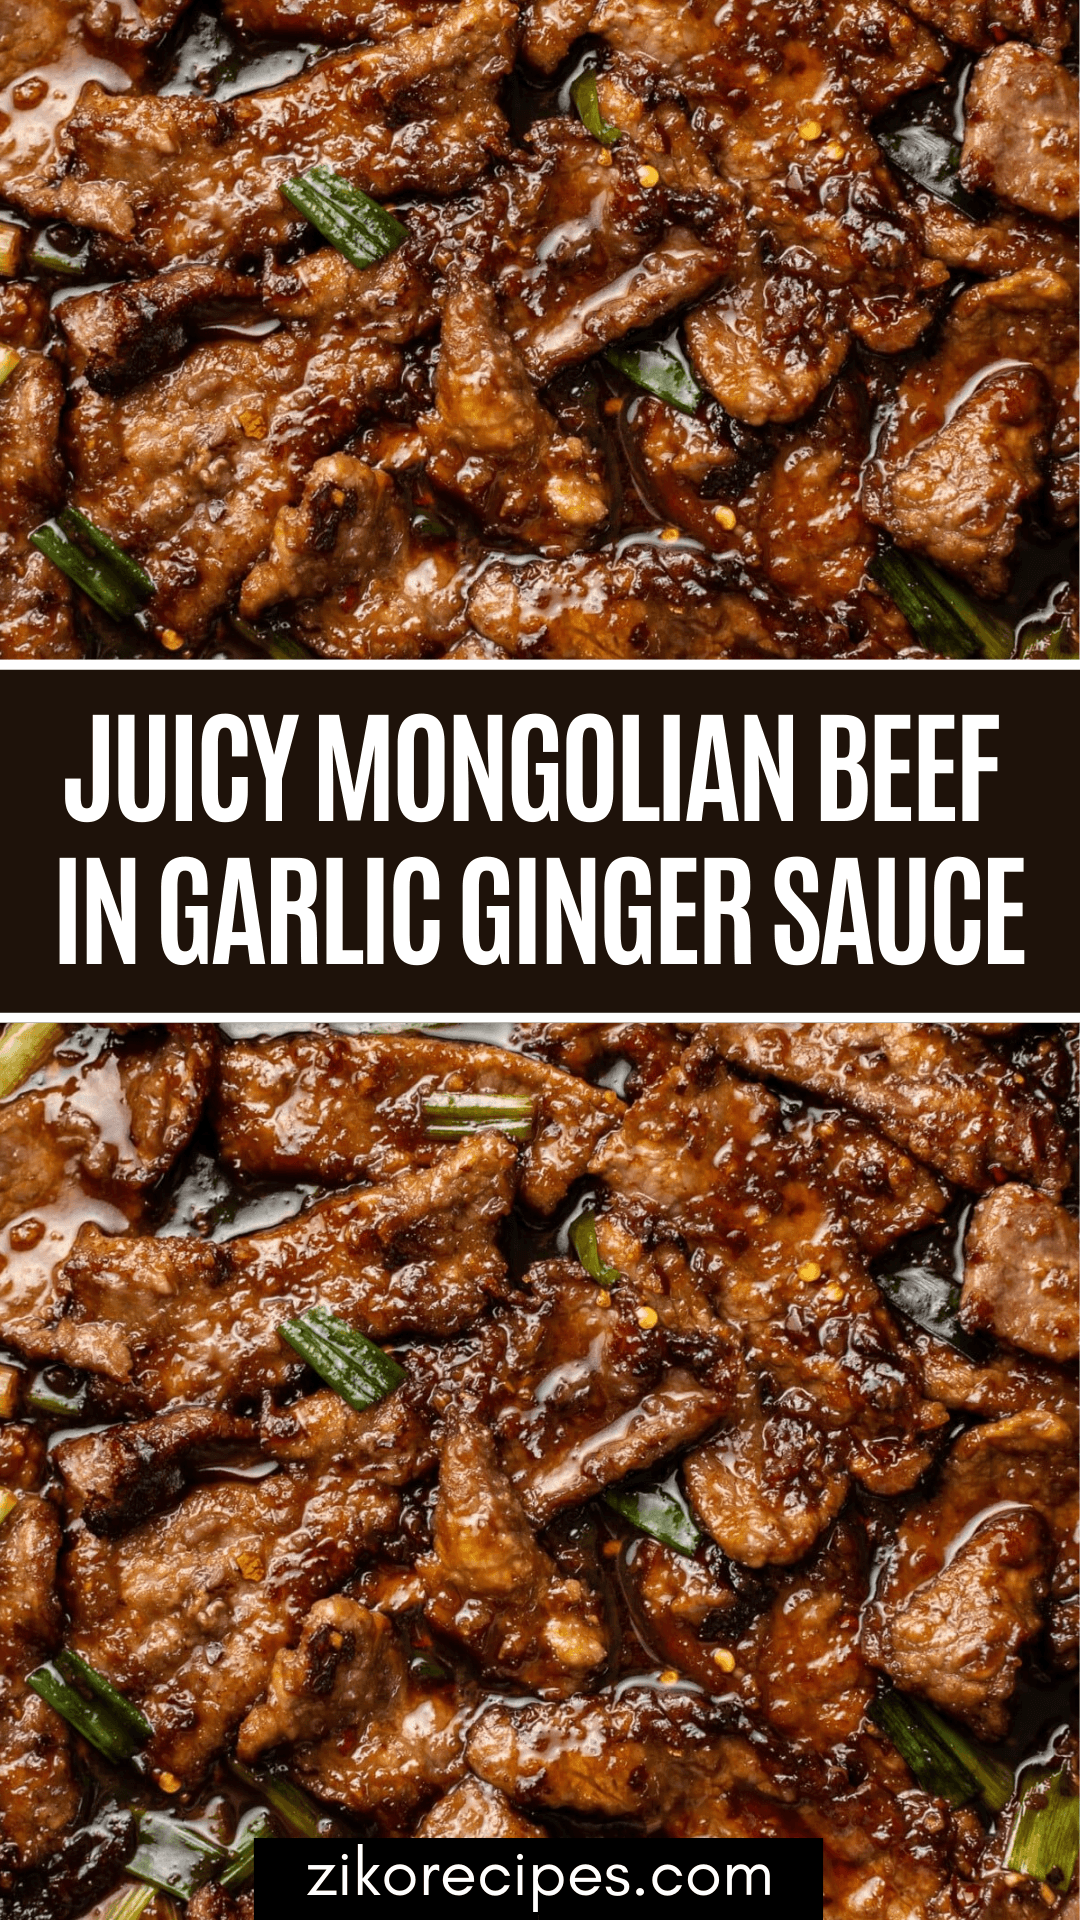
Ever wondered how your favorite Chinese restaurant gets that glossy, tender beef coated in a perfectly balanced sweet-savory sauce? The secret is surprisingly simple, and you can recreate it in your own kitchen in under half an hour. This Mongolian beef recipe delivers all the bold flavors you love from takeout, without the extra oil, sugar, or MSG.
With thin slices of beef seared at high heat, a rich soy-garlic-ginger sauce, and just the right touch of brown sugar, this dish comes together fast, making it ideal for busy weeknights. Even better, you control the ingredients, so it’s fresher, healthier, and tailored to your taste.
What is Mongolian Beef
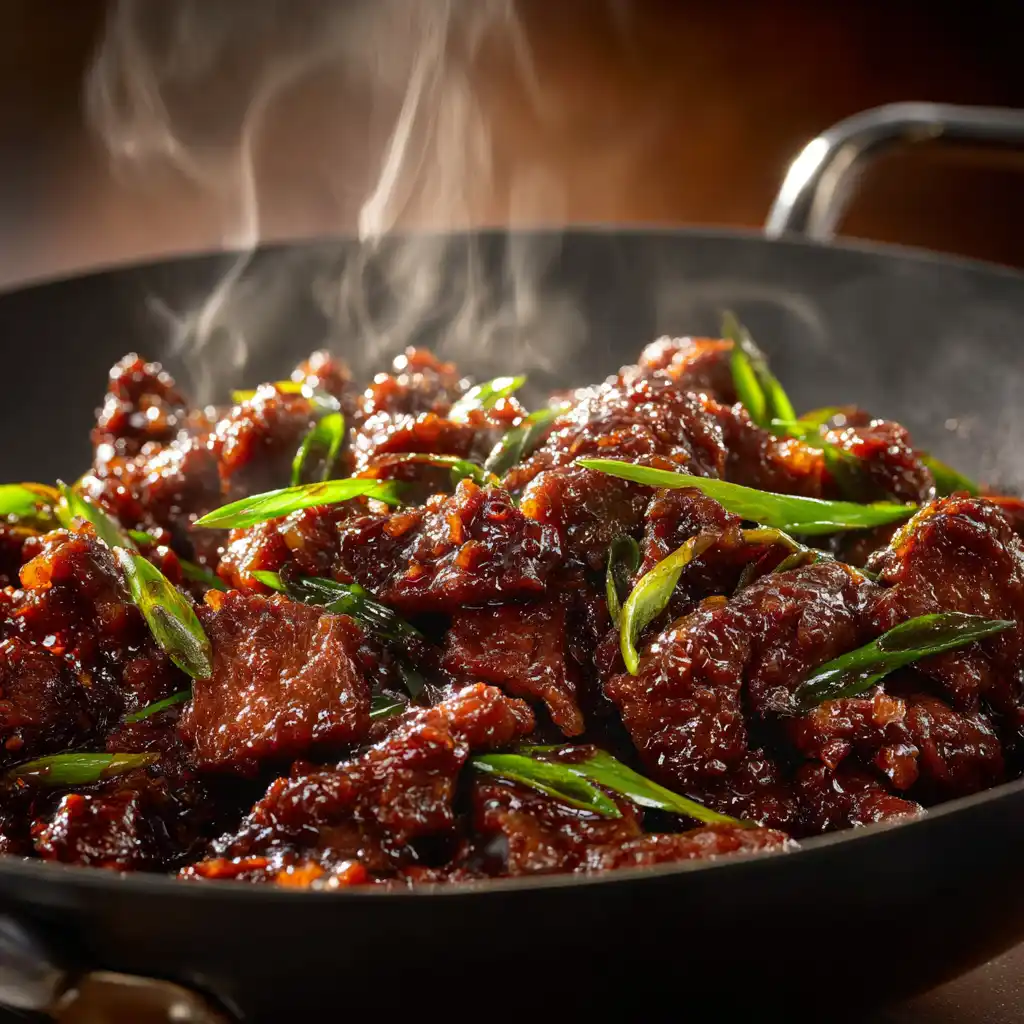
Despite its name, Mongolian beef isn’t from Mongolia at all, it’s an American-Chinese restaurant classic made famous by chains like P.F. Chang’s. The dish is known for its tender strips of beef stir-fried with scallions in a glossy, sweet-savory soy sauce.
Traditionally, flank steak is the cut of choice because it’s lean yet flavorful and works beautifully when sliced thin against the grain. The beef is often coated in cornstarch before cooking, which helps it brown quickly and gives the sauce a silky finish.
The sauce itself is a balance of soy sauce, brown sugar, garlic, and ginger, simple ingredients that pack a big punch. Some versions add a touch of heat with red pepper flakes or dried chilies.
Flavor Profile:
- Sweet from brown sugar
- Savory from soy sauce
- Aromatic from garlic and ginger
- Fresh from scallions added at the end

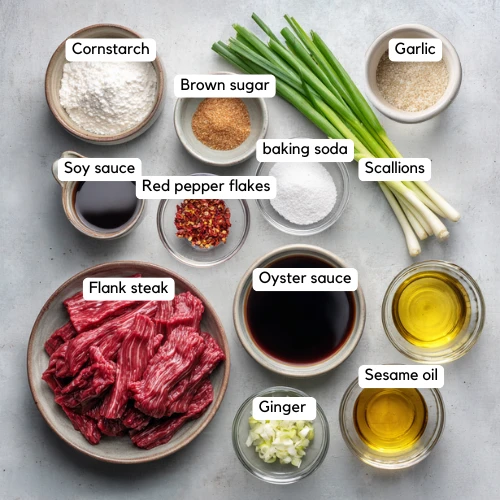
Ingredients You’ll Need for the Perfect Mongolian Beef Stir-Fry
Before you fire up the wok, gather these fresh and pantry-friendly ingredients. They’re simple, but when combined, they create that signature sweet-savory Mongolian beef flavor.
For the Beef
- Flank steak – traditional choice for Mongolian beef; tender when sliced thin against the grain.
- Substitute: sirloin, skirt steak, or flat iron steak if flank isn’t available.
- Cornstarch – coats the beef for a light crust and helps thicken the sauce.
For the Sauce
- Soy sauce – use regular for bold flavor, or low-sodium to control saltiness.
- Brown sugar – adds sweetness and helps caramelize the sauce.
- Garlic – freshly minced for the best aroma.
- Ginger – fresh ginger root for authentic warmth and depth.
- Scallions (green onions) – sliced into 2-inch pieces, added at the end for freshness.
Optional Flavor Boosters
- Red pepper flakes – for a mild kick.
- Oyster sauce – for extra umami depth.
- Sesame oil – adds a nutty finish.
Pro Tip: If you want extra-tender beef, try velveting it before cooking, a quick marinating method with cornstarch and a touch of baking soda.
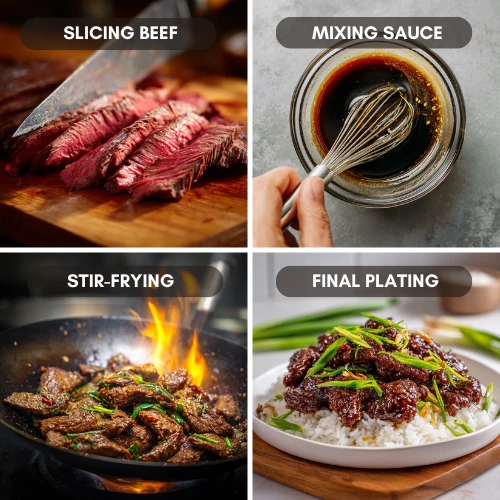
Step-by-Step Instructions: How to Make Mongolian Beef
Follow these steps for perfect Mongolian beef every time, tender slices, glossy sauce, and big takeout flavor in just 30 minutes.
1. Prepare the Beef
- Place the flank steak in the freezer for 15 minutes to firm up for easier slicing.
- Slice thinly against the grain into ¼-inch strips.
- Toss the beef in a bowl with cornstarch until each slice is lightly coated. Set aside.
2. Make the Sauce
- In a small bowl, whisk together soy sauce, brown sugar, garlic, and ginger until the sugar dissolves.
- Add red pepper flakes if you like a little heat.
3. Cook the Beef
- Heat oil in a wok or large skillet over high heat until shimmering.
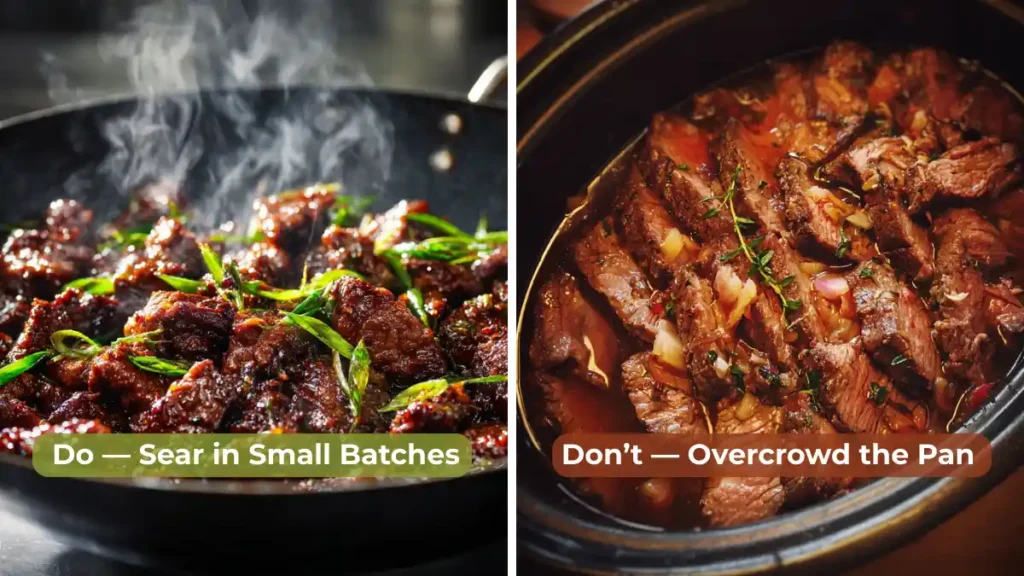
- Stir-fry the beef in batches (don’t overcrowd the pan) for about 1–2 minutes per side, just until browned. Remove and set aside.
4. Combine and Thicken
- Pour the sauce into the empty wok and bring to a simmer.
- Return the beef to the pan and toss until evenly coated and sauce has thickened slightly, about 1–2 minutes.
5. Finish and Serve
- Add scallions and toss briefly to keep them crisp.
- Serve hot with steamed rice or noodles.
Pro Tips for the Perfect Mongolian Beef
Want that restaurant-level taste and texture every time? These expert tips will help you nail it.
- Slice Against the Grain – Always slice beef across the muscle fibers, this shortens them and keeps each bite tender.
- Use High Heat – Stir-fry over high heat so the beef sears quickly without steaming. This locks in juices and prevents overcooking.
- Don’t Overcrowd the Pan – Cook in small batches so each piece of beef browns properly.
- Balance the Sauce – Taste and adjust, add a splash more soy for saltiness or a pinch more sugar for sweetness.
- Try Velveting for Extra Tenderness – Marinating the beef briefly with cornstarch and baking soda before cooking creates a silky texture.
- Add Scallions at the End – Toss them in right before serving to keep their flavor bright and fresh.
Variations to Try
Mongolian beef is endlessly adaptable. Here are some popular twists to suit your taste, diet, and cooking style.
Gluten-Free Mongolian Beef
- Swap soy sauce for tamari or coconut aminos.
- Replace cornstarch with arrowroot powder.
Air Fryer Mongolian Beef
- Toss sliced beef in a light coating of cornstarch and oil.
- Air fry at 400°F (200°C) for 6–8 minutes, shaking halfway, then toss with sauce.
Mongolian Chicken
- Replace beef with thinly sliced chicken breast or thighs.
- Adjust cooking time, chicken cooks faster.
Vegetarian Mongolian Stir-Fry
- Use extra-firm tofu, tempeh, or seitan.
- Keep the same sauce for bold flavor.
Pro Tip: No matter the variation, keep the stir-fry method fast and hot to preserve texture and flavor.
Visual Suggestion:
- A 4-way collage showing beef, chicken, tofu, and air fryer versions plated.
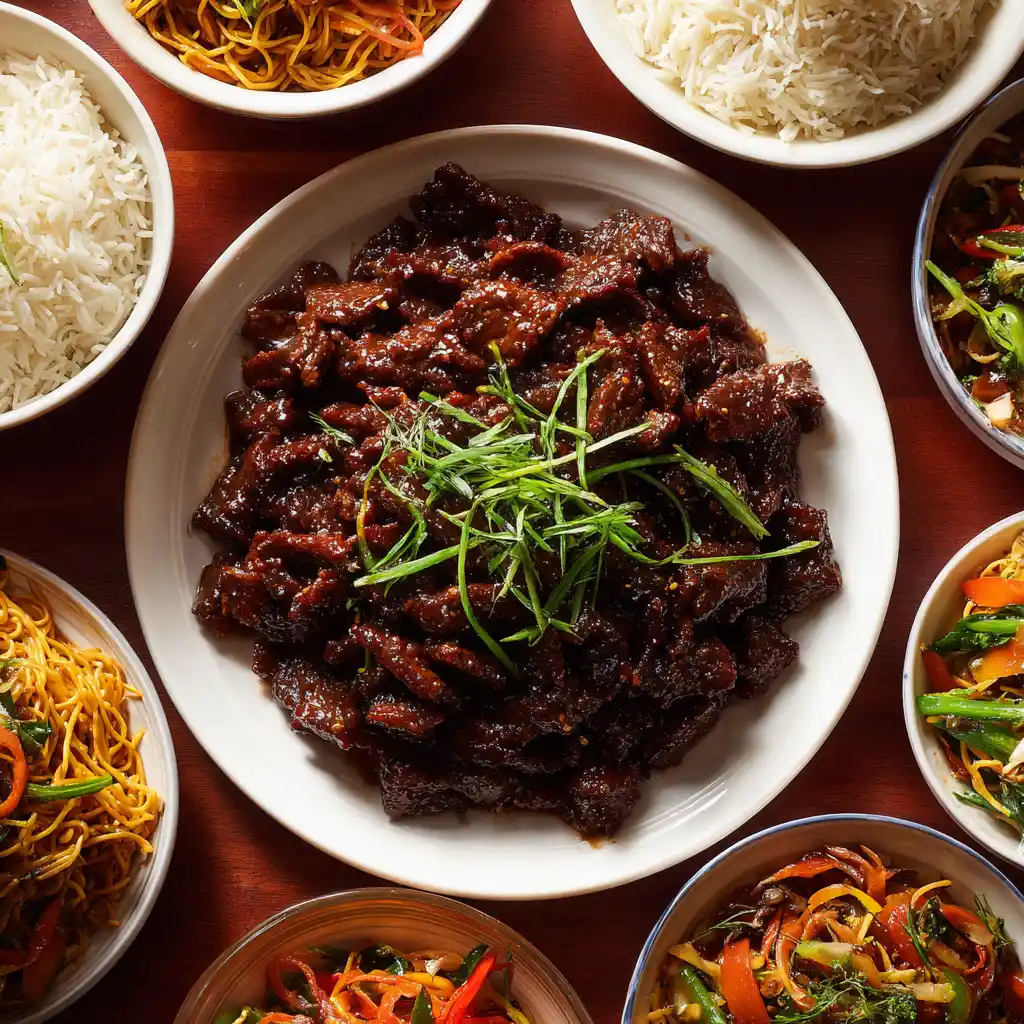
What to Serve with Mongolian Beef
The rich, savory-sweet flavors of Mongolian beef pair perfectly with simple sides that soak up the sauce or add freshness to your plate.
- Steamed Jasmine Rice: The classic choice, fluffy grains that absorb every drop of sauce.
- Fried Rice: For a heartier meal, try our Easy Fried Rice with vegetables and eggs.
- Lo Mein or Chow Mein Noodles: Toss them in the wok with extra sauce for a complete stir-fry.
- Stir-Fried Vegetables: Broccoli, bok choy, or snap peas add color and crunch.
- Asian Cucumber Salad: A refreshing, tangy side to balance the richness.
Storage and Reheating Tips
Keep your Mongolian beef tasting fresh and tender with these storage and reheating methods.
Refrigerator
- Store leftovers in an airtight container for up to 3 days.
- Keep the beef and sauce together to maintain flavor.
Freezer
- Cool completely, then freeze in a freezer-safe bag or container for up to 2 months.
- Portion into meal-size servings for easier thawing.
Reheating
- Stovetop (best method): Heat a small amount of oil in a skillet or wok over medium-high heat, add beef and sauce, and stir-fry for 2–3 minutes until hot.
- Microwave: Heat in 30-second bursts, stirring in between.
- From frozen: Thaw overnight in the fridge before reheating.
Pro Tip: If the sauce thickens too much after storage, add 1–2 tablespoons of water or broth while reheating.
PAA Target: “Can you freeze Mongolian beef?” “How do you reheat Mongolian beef?”
Visual Suggestion:
- Side-by-side image of Mongolian beef in a glass meal-prep container (fridge) and in a labeled freezer bag (freezer).
Frequently Asked Questions
Not by default, the traditional recipe is more sweet-savory than spicy. If you want heat, add red pepper flakes or sliced chili peppers to taste.
Yes. Thinly sliced chicken breast or thighs work beautifully. Adjust the cooking time since chicken cooks faster than beef.
Mongolian beef is made of thinly sliced flank steak stir-fried with scallions in a sweet-savory sauce. The sauce typically includes soy sauce, brown sugar, garlic, and ginger, and the beef is often coated in cornstarch before cooking for a tender texture.
Slice against the grain, use high heat for quick searing, and try velveting the beef before cooking. See our Velveting Beef Guide.
Mongolian beef has a balanced sweet and savory flavor, with umami from soy sauce, sweetness from brown sugar, and aromatic notes from garlic and ginger. It’s rich, glossy, and slightly salty, with fresh scallions adding brightness.
Mongolian sauce is usually made from soy sauce, brown sugar, garlic, ginger, and water. Optional additions like red pepper flakes add heat, while cornstarch thickens the sauce to coat the beef evenly.
Mongolian beef can be part of a balanced diet when enjoyed in moderation. Using lean cuts like flank steak, reducing sugar, and opting for low-sodium soy sauce can make it healthier. Pairing it with vegetables and steamed rice or quinoa adds more nutrition.
Mongolian Beef Recipe Better Than Takeout in 30 Minutes
Ingredients
Equipment
Method
- Place the flank steak in the freezer for 15 minutes to make slicing easier.
- Slice thinly against the grain and toss with cornstarch until evenly coated.
- In a small bowl, whisk soy sauce, brown sugar, garlic, ginger, water, and red pepper flakes until sugar dissolves.
- Heat 2 tbsp vegetable oil in a wok or large skillet over high heat.
- Cook beef in batches (avoid overcrowding) for 1–2 minutes per side until just browned. Transfer to a plate.
- In the same wok, add remaining oil and pour in sauce mixture. Bring to a gentle simmer over medium-high heat.
- Return beef to the wok and toss until coated, cooking for another 1–2 minutes until sauce thickens.
- Add scallions, toss briefly, and remove from heat.
- Drizzle with sesame oil if using.
- Serve hot with steamed jasmine rice, fried rice, or lo mein noodles.
- For ultra-tender beef, try velveting with cornstarch and baking soda before cooking.
Notes
Nutrition Information (per serving, approx.)
SERVING: 200 g | CALORIES: 370 kcal | CARBOHYDRATES: 27 g | PROTEIN: 26 g | FAT: 17 g | SATURATED FAT: 3 g | CHOLESTEROL: 65 mg | SODIUM: 1080 mg | POTASSIUM: 420 mg | FIBER: 1 g | SUGAR: 20 g | VITAMIN A: 150 IU | VITAMIN C: 4 mg | CALCIUM: 35 mg | IRON: 3 mgPrice of Recipe
- Total Cost: ~$12 for 4 servings
- Breakdown:
- Beef: $8
- Sauce ingredients: $3
- Garnishes/oil: $1
Recipe Notes
- Substitutions: Replace beef with chicken, tofu, or tempeh for variations.
- Storage: Refrigerate leftovers for up to 3 days; freeze up to 2 months.
- Reheating: Best on stovetop over medium-high heat. Add a splash of water if sauce thickens too much.
- Make It Spicier: Add sliced fresh chili or extra red pepper flakes.
- Diet: Dairy-Free, can be Gluten-Free with tamari
Call-to-Action
Did you love this better than takeout Mongolian beef recipe? Share it with friends, post your results using #MongolianBeefChallenge, and let us know in the comments how it turned out!Conclusion
This Mongolian beef recipe brings the bold, sweet-savory flavors of your favorite takeout straight to your kitchen, in just 30 minutes. With tender slices of beef, a rich glossy sauce, and the option to customize for your taste or diet, it’s a dish you’ll come back to again and again.
Now it’s your turn, fire up your wok, give this recipe a try, and taste the difference of homemade. Share your results in the comments below, and don’t forget to tag your creations with #MongolianBeefChallenge so we can see your delicious plates.